- Introduction
- Items you will need
- Getting the resources
- Boiling the water
- The Art of Brewing
- Brewing Recipes Cheatsheet
Introduction
So you’re interested in brewing your own beer in Fallout 76? Well look no further! This guide will show you just how to do that EASILY!
Items you will need
Brewing station – First up, in your CAMP you will need a Brewing Station however this is optional as they can be found elsewhere. This is unlocked during the ‘Wasted on Nukashine’ quest. If you haven’t unlocked it, you can either find one at someone else’s CAMP or head over to one of these locations to find one.
Cooking station – You will also need a means to create boiled water, so some sort of cooking station will help. Again this is optional as it can be found in another players CAMP or in one of these locations.
Boiled water – You’ll need 2 Boiled water per beer. You can get this by collecting water from any body of water and boiling it at a cooking station.
Corn – You need 1 corn per beer you want to create.
Razorgrain – You will need 2 Razorgrain per beer you want to make.
Wood – You will also need 2 wood per beer and 1 wood per boiled water, so a total of 4 wood per beer.
So to sum up, for beer you will need:
- Boiled water x2
- Corn x1
- Razorgrain x2
- Wood x2
Let’s dive right into it, I will show you what I do every time to brew up some beers!
Getting the resources
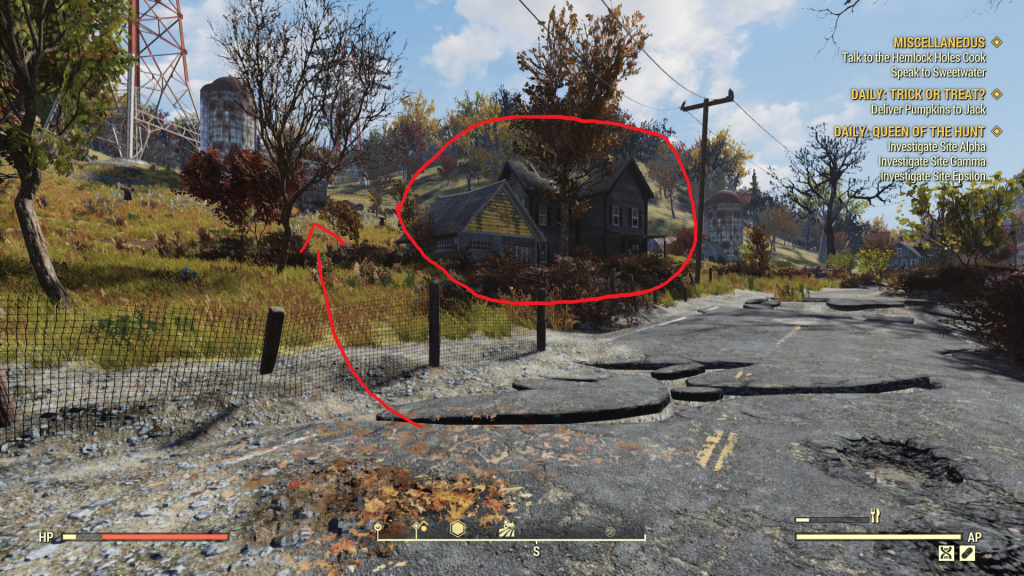
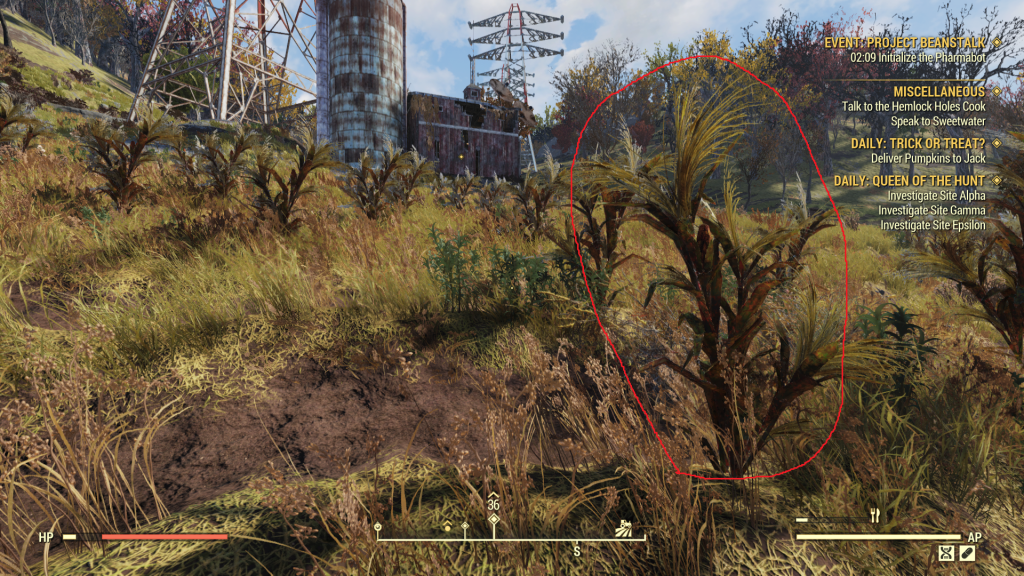
Corn – Silva Homestead
First off this is a good time to equip the Green Thumb perk card although not necessary as you will still get lots of produce.
We’re heading over to Silva Homestead first to get lots of Corn! We also did a guide on this as one of the best places to get Corn.
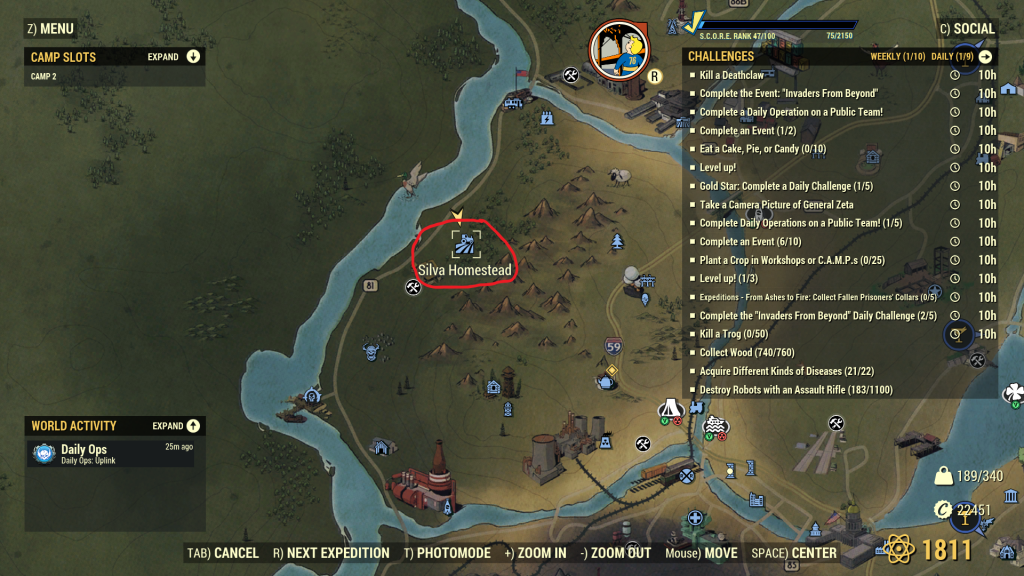
Off the bat, assuming you’ve fast travelled there you should be directly in front of the house, jump over the fence to the field behind of it. Otherwise find the house and run behind it!
Tip: It has an Electrical Tower behind it.
Collect lots of these plants, there is so many here. Remember you only need 1 per beer.
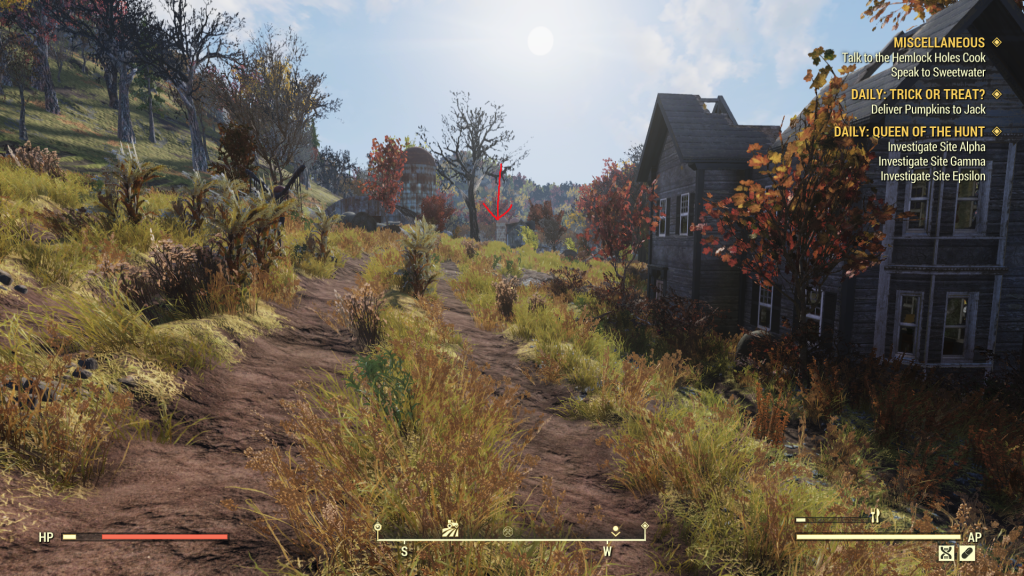
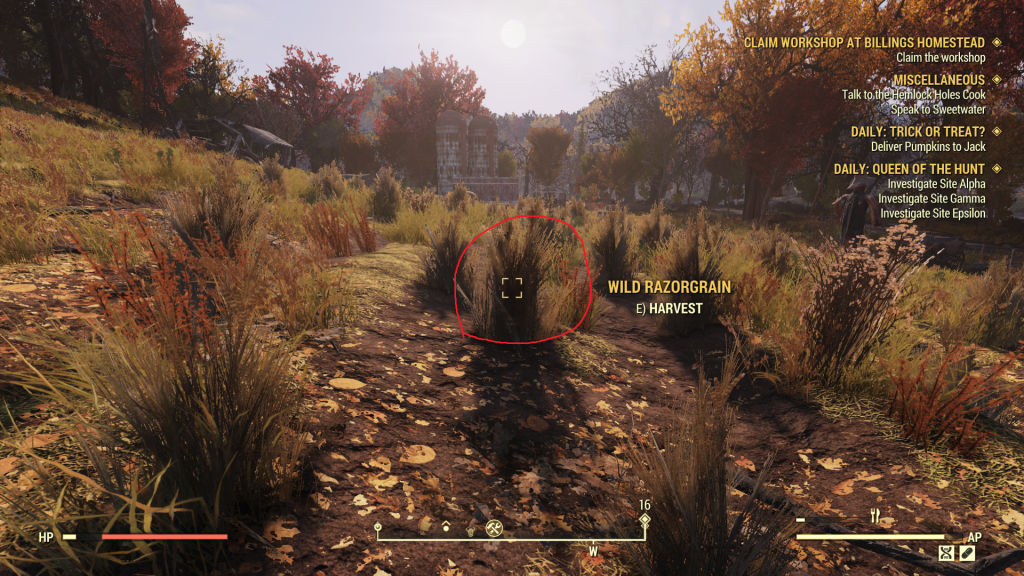
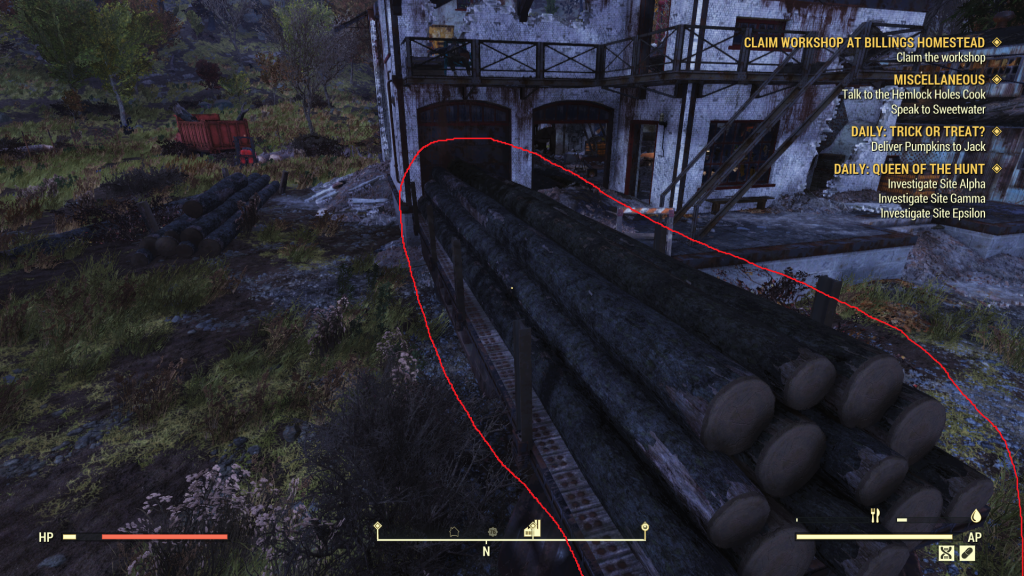
Razorgrain – Billings Homestead
Next up is Razorgrain and guess what? It’s in running distance from Silva Homestead! We also did a post on this too. Just follow your compass or the map and run south west towards this workshop.
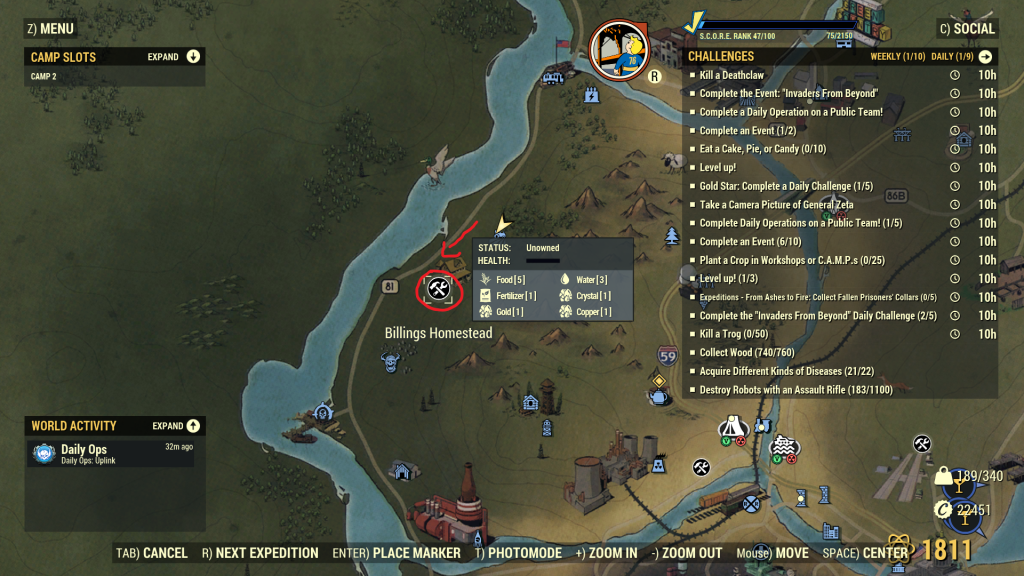
It’s also viewable from the field in Silva Homestead.
When you’ve arrived there, collect lots of Razorgrain, you will need 2 per beer, so get double of what you want to brew.
Wood – Gilman Lumber Mill
Now I don’t actually collect wood or water as I have plenty of wood and water at my base but nonetheless I will take you through these!
Next up is Gilman Lumber Mill, perfect for if you need wood, if you don’t then SKIP this step.
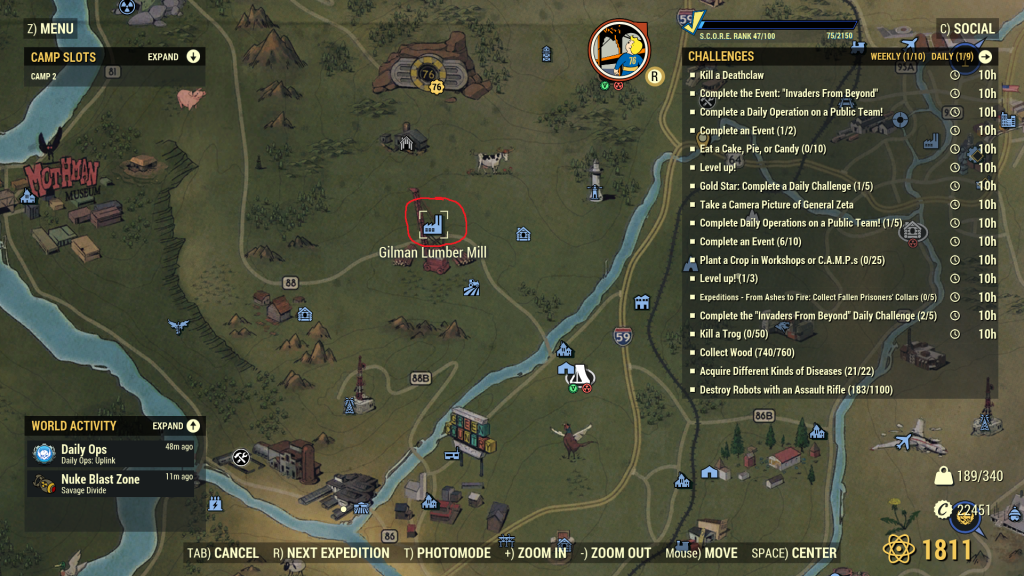
Once you’re there collect from piles of wood all around the site, you may get unwanted guests so deal with them too!
As you will need 2 wood per beer and 1 per boiled water, so collect four times as much as the beer you want to brew.
Water – The Wayward
The thing with water, you can’t use purified water to cook in this game which I think is a flaw! But what can I do, well all I can do is show you where to get some water.
Head to the Wayward, south east of Gilmans Lumber mill, you will have it unlocked as a fast travel point already or simply run and grab some wood on the way if you need to.
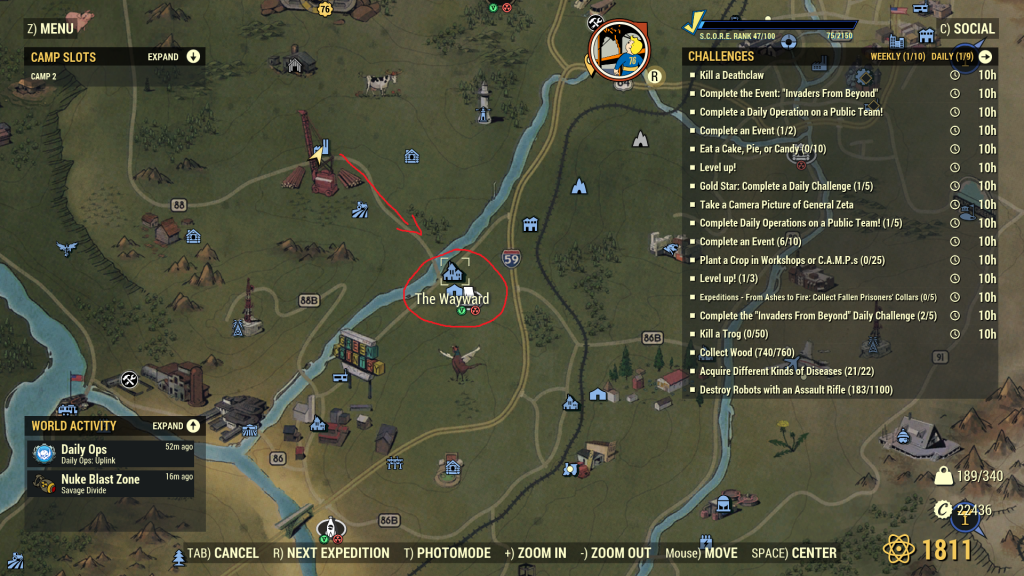
When you’re there, go to the bridge behind the Wayward, collect some water from the river (you will pass a field of corn, you could technically just get your corn and water from here but I find the field tends to be already harvested). Again you will need 2 for every beer and a further 2 for every boiled water, so you will need 4 per beer you want to brew.

Alternatively
The Silva Homestead and Billings Homestead is by the edge of the map, you can simply run to the edge and get some water, but you will still need to boil it.
Boiling the water
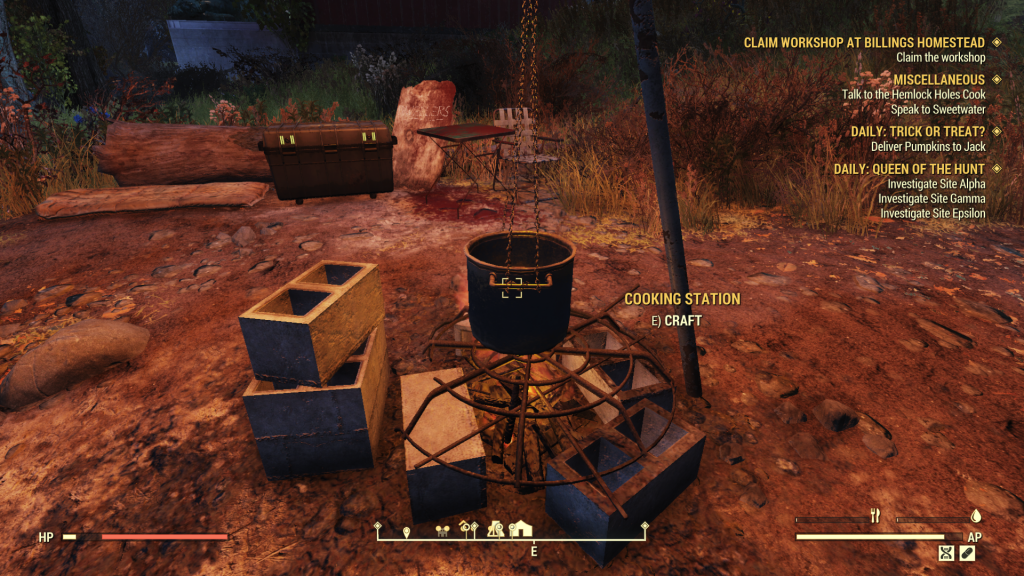
Now that’s the acquisition of resources complete, now we just need to head to a couple of places to finish it off, first we will need to boil the water.
For this we’re just going directly behind us to the Overseers camp. The building to the left is The Wayward.

Head on over there and use the cooking station to boil all of your water.
We’re now ready for phase 2, brewing!
The Art of Brewing
Now the easiest place if you have unlocked it would be Big Als Tattoo Parlour, but I’m going to skip it as I will assume you haven’t done the quest that takes you to the Tattoo Parlour.
Instead we’re going to go to The Rusty Pick!
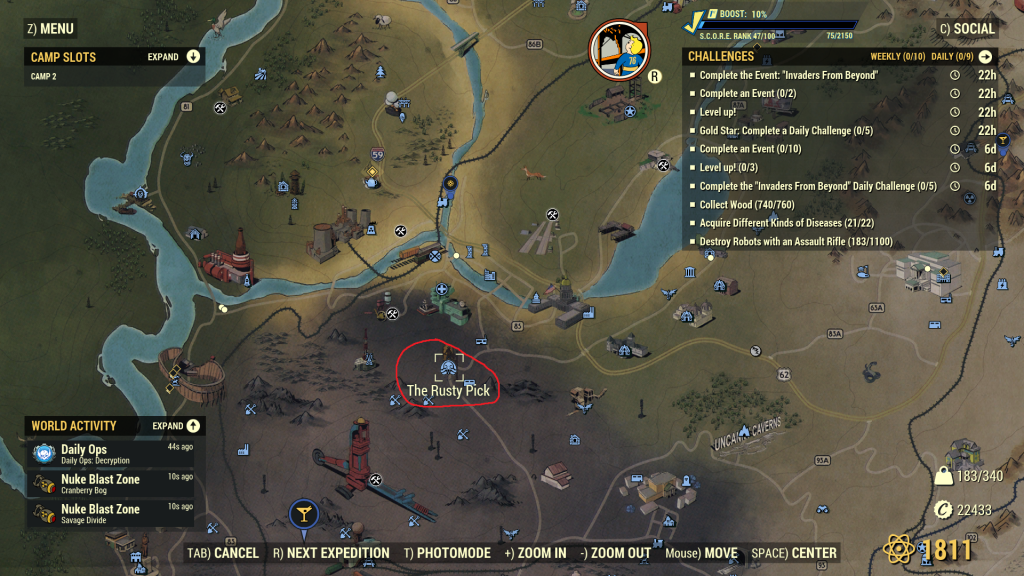
Once you’re in the Rusty Pick, take the right path.
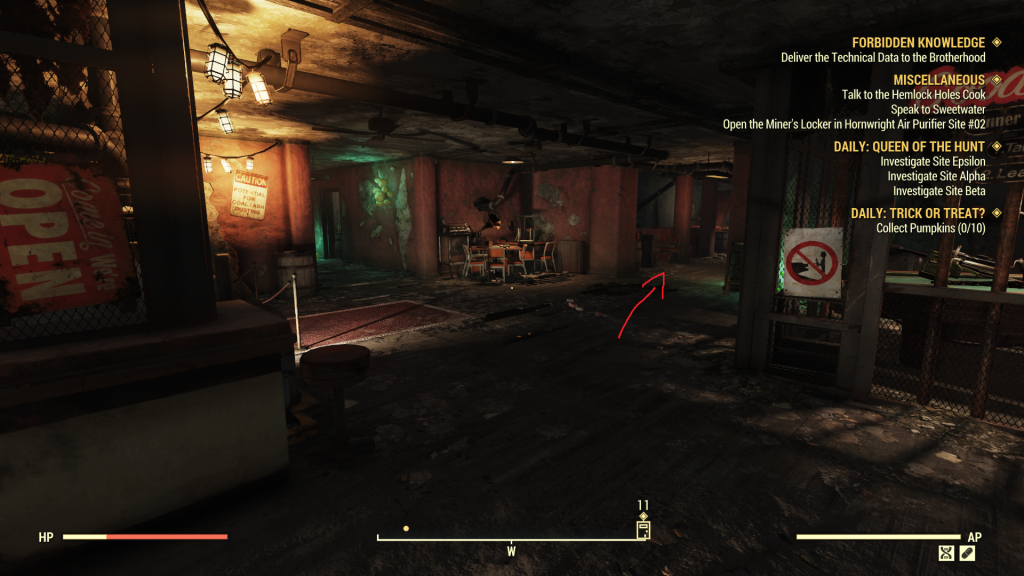
When you see the legendary exchange machine. take the stairs to the right.

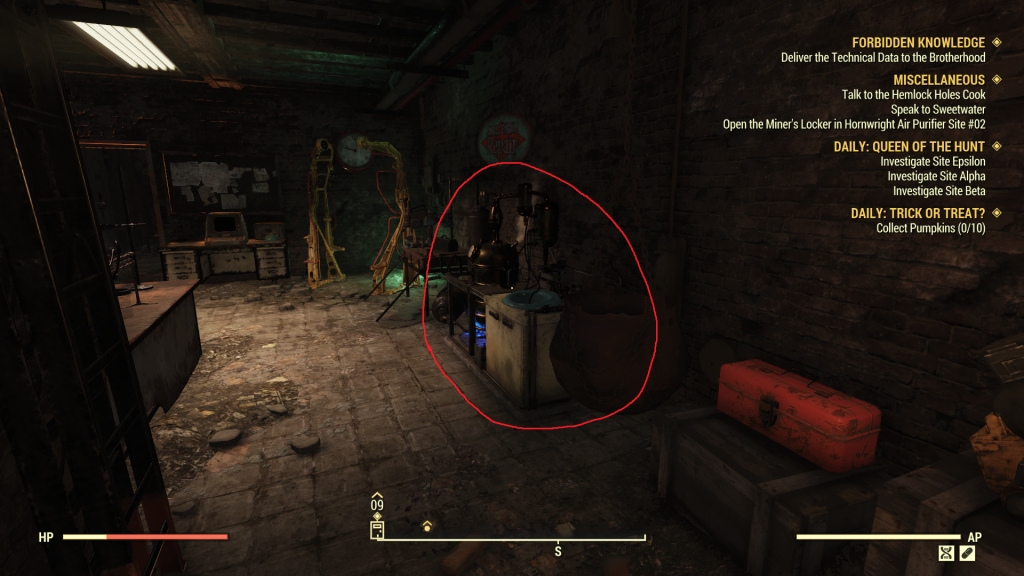
You’ll see the brewing station, use it.
Now, under beers you can craft Fermentable Beer, this will slowly turn into regular beer in your inventory after 60 minutes! Or you can put it in a Fermenter to speed up the process.
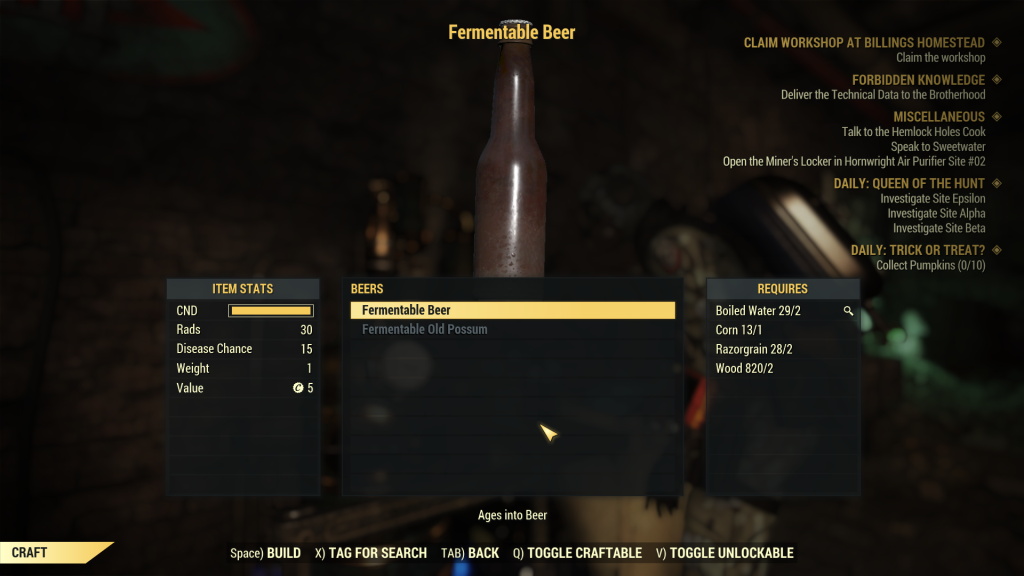
You’ve now made your first batch of beers! These will never expire and are very handy for dailies when they appear.
Brewing Recipes Cheatsheet
Below is a handy table that is perfect to print off (if you want) or to keep open when trying new brewing recipes! A photo copy will be on our Pinterest here.
